
 EN
EN NL
NL DE
DE IT
IT FR
FR Think differently, think refurbished.
How do you take a screenshot on your laptop in Windows?
Written on 9 June 2026, last updated on 27 July 2026
In short
The fastest way to take a screenshot on your laptop with Windows is the Print Screen key. If you want more control, use Windows key + Shift + S to select part of your screen.
With Windows key + Print Screen you save a screenshot of your whole screen automatically. On a MacBook you take a screenshot with Shift + Command + 3.
- Print Screen: copies your whole screen to the clipboard
- Windows key + Print Screen: saves the screenshot automatically
- Windows key + Shift + S: select part of your screen
- Alt + Print Screen: only the active window
Contents
- How do you take a screenshot on your laptop?
- Taking a screenshot with Print Screen (PrtScn)
- Saving a screenshot of your whole screen
- Part of your screen: the Windows Snipping Tool
- Screenshot of a single window (Alt + Print Screen)
- Where are your screenshots saved?
- Editing a screenshot in Paint
- Taking screenshots in Windows 10 and Windows 11
- How do you take a screenshot on a MacBook?
- What do you do with your screenshot?
- Tips for sharp screenshots
- Frequently asked questions
- Sources
Taking a screenshot seems simple, but Windows offers more ways than most people know. Each method suits a different goal.
In this guide I show you step by step how to easily take a screenshot on a laptop with Windows. Taking one on a MacBook is covered briefly too.
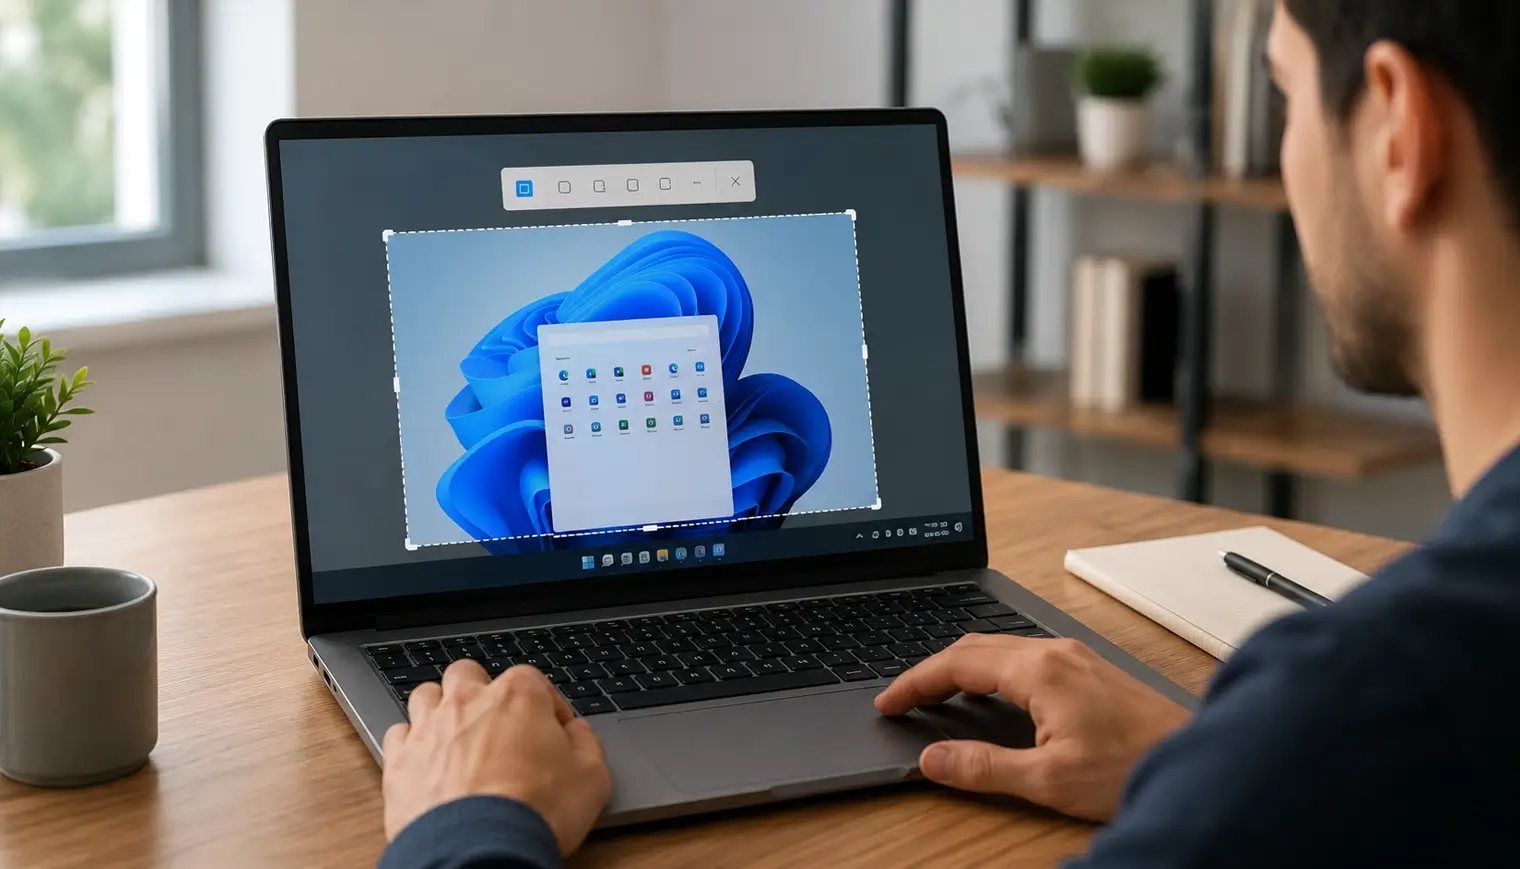
How do you take a screenshot on your laptop?
You take a screenshot on your laptop with a keyboard shortcut, usually Print Screen or the Windows Snipping Tool. Both capture your screen, but in a slightly different way.
Windows offers several built-in ways to take a screenshot. Which you choose depends on whether you want the whole screen or only part of it.
The fastest route is a key on your keyboard. The handiest route for precision is the Windows Snipping Tool.
On a laptop with Windows this works nearly the same in almost every Windows version. Small differences mainly sit between Windows 10 and Windows 11.
Taking a screenshot with Print Screen (PrtScn)
With the Print Screen key you take a screenshot of your whole screen in one click. That capture ends up on the clipboard.
Find the Print Screen key on your keyboard, often shortened to PrtScn. One press captures your full screen.
The print screen is not saved right away. Windows only places the image of the screen on the clipboard.
Then open a program such as Word or Paint. Press Ctrl + V to paste the screenshot.
Does your laptop have a compact keyboard? Then you sometimes have to hold the Fn key and then press Print Screen.
Saving a screenshot of your whole screen
Do you want a screenshot of your whole screen straight away as a file? Then press the Windows key together with Print Screen.
Hold the Windows key and press Print Screen. Your screen dims for a moment as confirmation.
The screenshot is saved automatically. You find it back as a file, ready to share.
That way you do not have to paste anything. This shortcut handles making and saving the screenshot in one action.
Part of your screen: the Windows Snipping Tool
For a screenshot of part of your screen you use the Windows Snipping Tool. You open it with Windows key + Shift + S.
Press the Windows key, Shift and S at the same time. Your screen turns light grey and the cursor changes into a cross.
Now hold the left mouse button and move your mouse across the screen. That way you select exactly the area you want to capture.
Release the left mouse button to take the screenshot. The capture lands on the clipboard and briefly appears as a notification.
Click that notification to edit or save your screenshot. Using the Windows Snipping Tool gives you full control over your screenshots.
Screenshot of a single window (Alt + Print Screen)
If you want to capture only the active window, use Alt together with Print Screen. That way you do not have to show your whole desktop.
First click the window you want to capture. That way Windows knows which window is active.
Hold Alt and press Print Screen. Only that one window lands on the clipboard.
Then paste the image in a program of your choice. This is one of the handiest ways to capture exactly the right part.
Where are your screenshots saved?
Screenshots you take with the Windows key are saved automatically in the Screenshots folder inside Pictures. That way you never lose a capture.
Open File Explorer and go to Pictures. There you find the folder with all your saved screenshots.
If you only use Print Screen, the capture sits on the clipboard. You then have to paste and save it yourself.
Do you want to give a screenshot its own name and folder? Then paste it in Paint and choose Save as there.
Editing a screenshot in Paint
With a free program such as Microsoft Paint you can crop, mark and save a screenshot. That turns a rough capture into a tidy image.
Open Paint and press Ctrl + V to paste your screenshot. The capture from the clipboard appears right away.
Now crop, add text or draw an arrow. That way you draw attention to the right part of the screen.
Then choose Save as and select a folder. Your screenshot is now ready as a file to share.
Taking screenshots in Windows 10 and Windows 11
The ways to take a screenshot work nearly the same in Windows 10 and Windows 11. There are only a few small differences.
In Windows 10, Windows key + Shift + S opens the snipping tool as an overlay. In Windows 11 this feature is further improved and better integrated.
In Windows 11 you can set the Print Screen key to open the snipping tool directly. That way you work even faster with one shortcut.
Not sure which Windows version you have? Then read our article about the difference between Windows 10 and 11.
How do you take a screenshot on a MacBook?
On a MacBook you take a screenshot with Shift + Command + 3 for the full screen. For part of the screen you use Shift + Command + 4.
Taking a screenshot on a MacBook works with different keys than on Windows. The logic does stay the same.
Press Shift + Command + 3 for your whole screen. The screenshot appears automatically on your desktop.
If you want to select part of the screen, use Shift + Command + 4. Drag the mouse across the area you want to capture.
What do you do with your screenshot?
Once you have taken a screenshot, you can paste, save and share it wherever you want. A screenshot is simply an image, after all.
Do you have the capture on the clipboard? Then paste it with Ctrl + V into an email, a document or a chat.
If you want to keep the image, save it as a file. Choose a clear name and a fixed folder, so you find it back quickly later.
For a sharp screenshot choose the PNG format. For a smaller file JPG is often enough.
Do you work with screenshots a lot? Then create a fixed folder, so you keep all your screenshots in one place.
That way you use your screenshot for an explanation, a short guide or to quickly show something to a colleague.
Tips for sharp screenshots
With a few simple habits you make screenshots that look tidier and clearer. That saves cropping afterwards.
Close windows you do not need before you take a screenshot. That keeps the image calm and clear.
Do you work with two screens? Then Print Screen captures both screens at once, while the snipping tool lets you select one screen.
Use the snipping tool when you want to leave out personal data. You then select only the part you really want to show.
Do you want to highlight something? Then add an arrow or box in Paint, so the viewer sees right away what it is about.
Not sure about readability? Then zoom in a little on your screen first, so small text on the screenshot stays sharp.
Frequently asked questions
How do I take a screenshot on my laptop with Windows?
The fastest way is the Print Screen key, often shortened to PrtScn. It copies your whole screen to the clipboard, after which you paste the image with Ctrl + V. If you want to select part of your screen, use Windows key + Shift + S to open the Windows Snipping Tool.
Where is my screenshot saved?
That depends on the method. If you press Windows key + Print Screen, the screenshot is saved automatically in the Screenshots folder inside Pictures. If you only use Print Screen, the capture sits on the clipboard and you paste and save it yourself.
What is the Windows Snipping Tool?
The Windows Snipping Tool is a built-in tool to capture part of your screen. You open it with Windows key + Shift + S, hold the left mouse button and drag over the area you want to capture. That gives you full control over your screenshots.
How do you take a screenshot on a MacBook?
On a MacBook you press Shift + Command + 3 for your whole screen. For part of the screen you use Shift + Command + 4 and drag the mouse over the area. The screenshot then appears automatically on your desktop.
Sources
About the Author
Curious about the author behind this article?

Angelo van Cleef is a senior developer and IT specialist with over 23 years of experience at DSL Tech, focusing on development and marketing. Previously, he worked at large companies on long-term projects that spanned several years. In his spare time, Angelo enjoys fitness, hiking, and exploring new world cuisines.
We value your privacy
You decide which cookies we may use
We and our partners use cookies to keep the site running smoothly, understand how it's used, and show you offers that match your interests. We need your permission for some of these.
- A faster, smoother experience on dsl-tech.nl
- Offers and products that match your interests
- You can change your choice at any time
We never sell your data. Read our Privacy policy for more information.